I tested Browse AI for a couple of weeks, both on my own website and on others’ websites as well.
It has primarily 2 functions: you can monitor websites and extract data from websites, which is super interesting.
I’ll share my thoughts on Browse AI and potential use cases. So let’s get into it.
Key Takeaways
- Monitor your competitors’ websites for any changes in text, images or design
- Extract data from a website and fill it into a Google Sheets.
- Turn any website into an API with a robot.
Pros And Cons Using Browse AI
After using Browse.ai for some time, I’ve collected the pros and cons I stumbled upon, so let’s get into it.
Pros of Browse AI
- You can use their very generous free plan with 5 robots and 50 credits.
- The monitoring is very precise, and you can monitor text, images and even design changes
- Monitoring and extraction support sign-in, scrolling and pagination.
Cons of Browse AI
- Error messaging when something goes wrong is rarely helpful.
- Sometimes if the website is too heavy, the browser extension freezes.
Browse AI
My Quick Take
Browse AI is brilliant for 2 things, scrape data from any website, and monitor other websites.
You can easily scrape a blog, and then you have a library of blog posts you can serve as an API or similar.
What Is Browse AI?
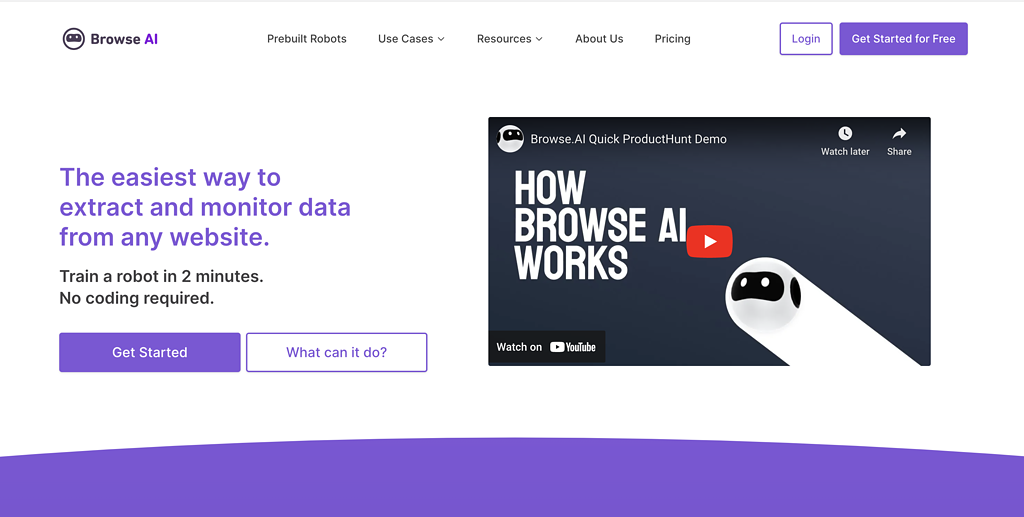
Browse AI is a platform where you can both monitor other websites and extract data from the websites.
You can monitor everything from a piece of text to the entire website and define when you want to be alerted based on how much changes.
It requires no custom code or coding skills. All you need to use Browse AI is a free account and their Chrome extension. It’s super easy to get started.
You can then integrate into any platform you wish and push the data. So let’s say you’re extracting all blog posts from a website, then you can put them into Google Sheets, Airtable or something else and use it as a database.
Whatever you need with data extraction, Browse AI can help you. It’s an awesome tool which is simple to use.
The Browse AI Chrome Extension
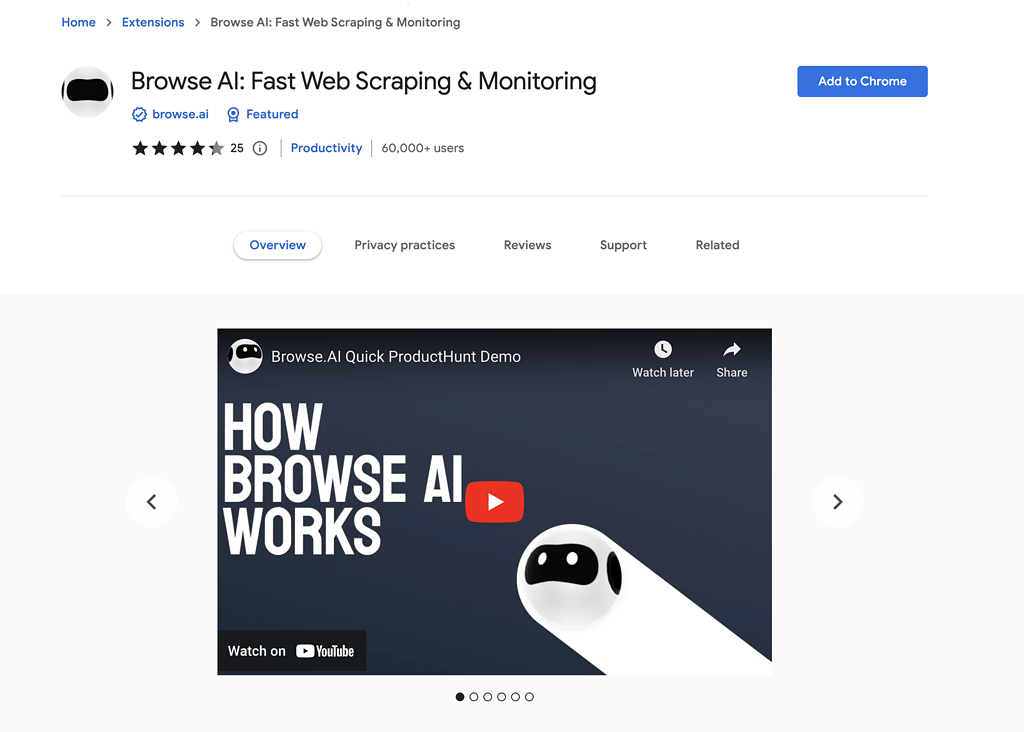
To get started using the Chrome extension, it’s super easy, and you need it no matter what task you want your bots to perform.
With the Chrome extension, you’re going to map the journey for your bots and don’t worry. It’s super straightforward.
When you’ve installed the Chrome extension, you need to give it some permissions and allow it to run in incognito, and then you’re ready to set up your first bot.
I found the Chrome extension super user-friendly and easy to use. The only problem was that when I tried to perform more heavy tasks, the Chrome extension sometimes froze. Luckily, it was very rare.
Get actionable SEO tips in your inbox
Join 900+ other website owners to receive a weekly SEO video from my YouTube channel, which I’ll share.
And on top of that, an actionable SEO tip every week.
Monitor A Website With Browse AI
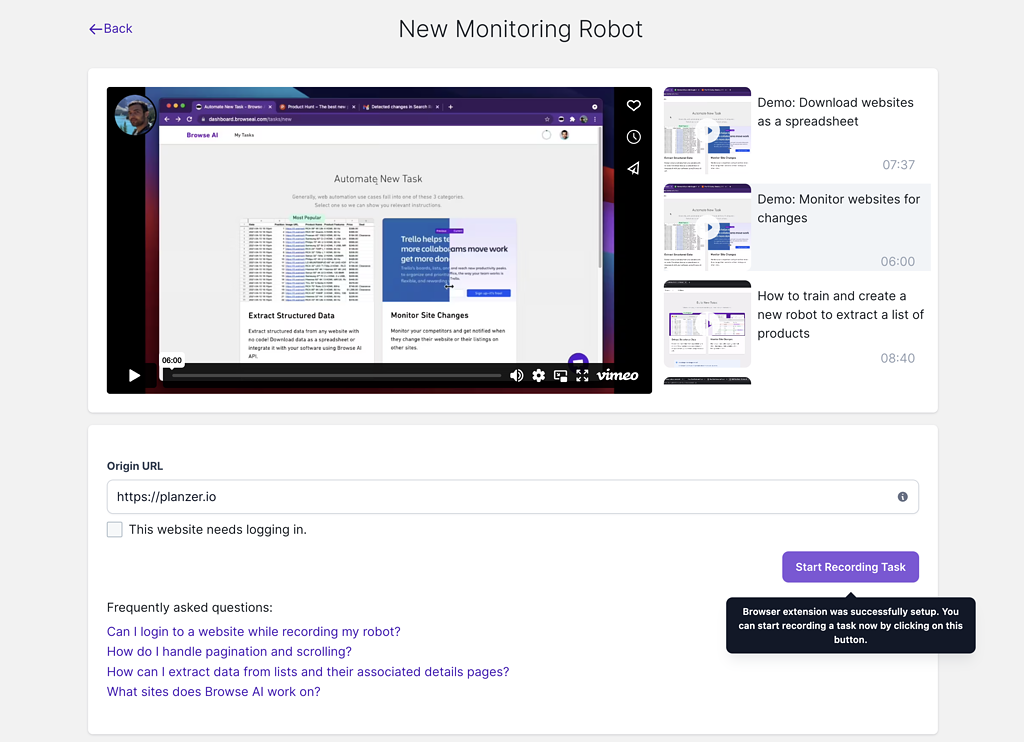
I really like how easy it is to use once you’ve installed the Chrome extension.
Simply enter the URL you want to monitor, and then it opens a new window.
Click on the robot in the top right, and then choose if you want to monitor:
- Part of the page
- The entire page
- A selection
Take a screenshot, and then you’re done.
Then you get options to choose between:
- How often do you want to check for changes (Minute, Hour, Day, Week, Month)
- What days should it check on
- Receive an email if there are any changes
- 1% Small change
- 10% Medium change
- 25% Major change
- 50% Gigantic change
If you’re monitoring the entire page, then it’s a good idea to set the change level of when you want to receive an email, so you don’t receive an email if they correct a spelling mistake, but in the end, it’s entirely up to you.
I really liked the user experience setting up the bot, and it handles lazy loading on the websites it’s monitoring to perfection.
It requires no coding skills, and you just need to stick to the user interface and ensure your bot is running as it should.
Once it’s done then, you can see the following for the bot:
- Run Task (An overview and a function to run the bot manually)
- History (Runs and changes to the bot)
- Monitor (The monitor itself)
- Integrate (Integrate with a different service to perform a set of tasks if something changes)
- Settings (The URL, country and minor settings.
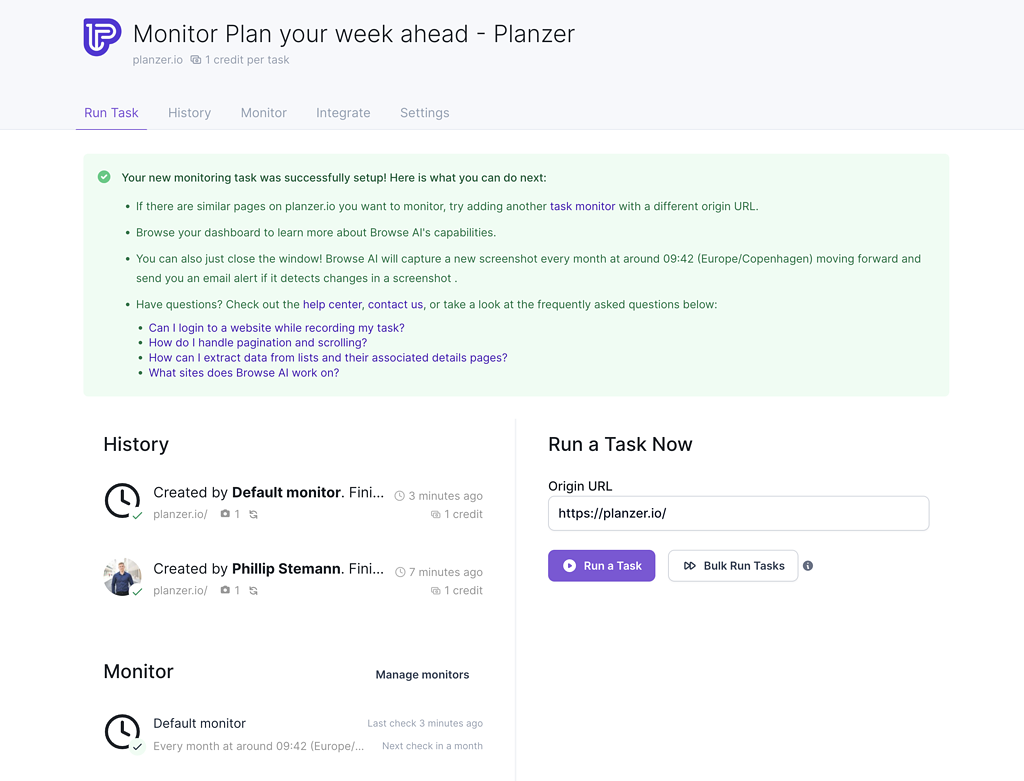
I love the integrations part because, let’s say, I’m monitoring a competitor for changes. Every time they publish a new blog post, I want that blog post on an email.
I can do this by setting up an integration to Zapier and then send me the content to my email.
Browse AI supports the following integrations:
- Zapier
- Webhooks
- Rest API
- Pabbly Connect
- Make.com
- Workflows
- Integrately
So there should be a chance that your choice is available. I mean, Zapier opens up to any integration.
Overall, I really like this module; it runs to perfection and is super solid.
Extract Data From Any Website With Browse AI
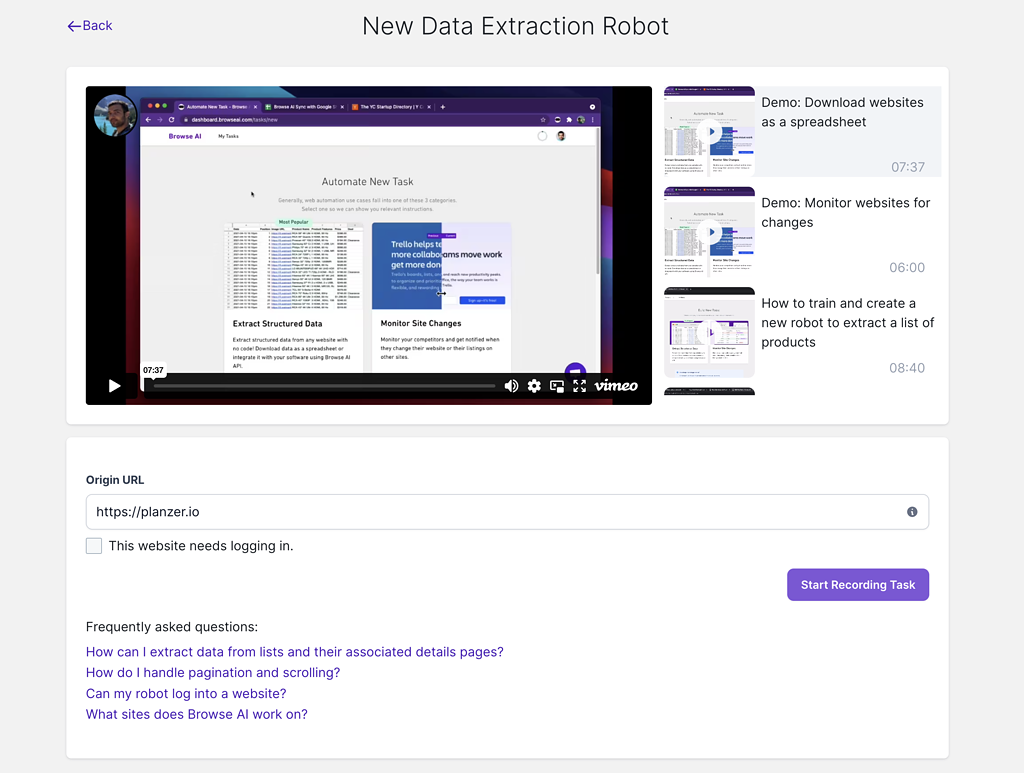
The other bot type is to extract data, and while this one is a bit more complicated to set up, it’s still fairly easy when you get a hang of it.
I used it for fun to extract all my blog posts from my website and add them to Google Sheets to create an overview.
The integration to Google Sheets worked perfectly, and the job details on the bot were very similar to the monitoring bot.
It’s a very functional data extraction tool that helps you easily extract data from any website, even with pagination, lazy load and more.
But let me tell you how you set it up and my experience with it.
First off, you can choose to build your robot yourself if it’s a custom website. Otherwise, then Browse AI has s library of more than 70 prebuilt robots that you can just pick and use.
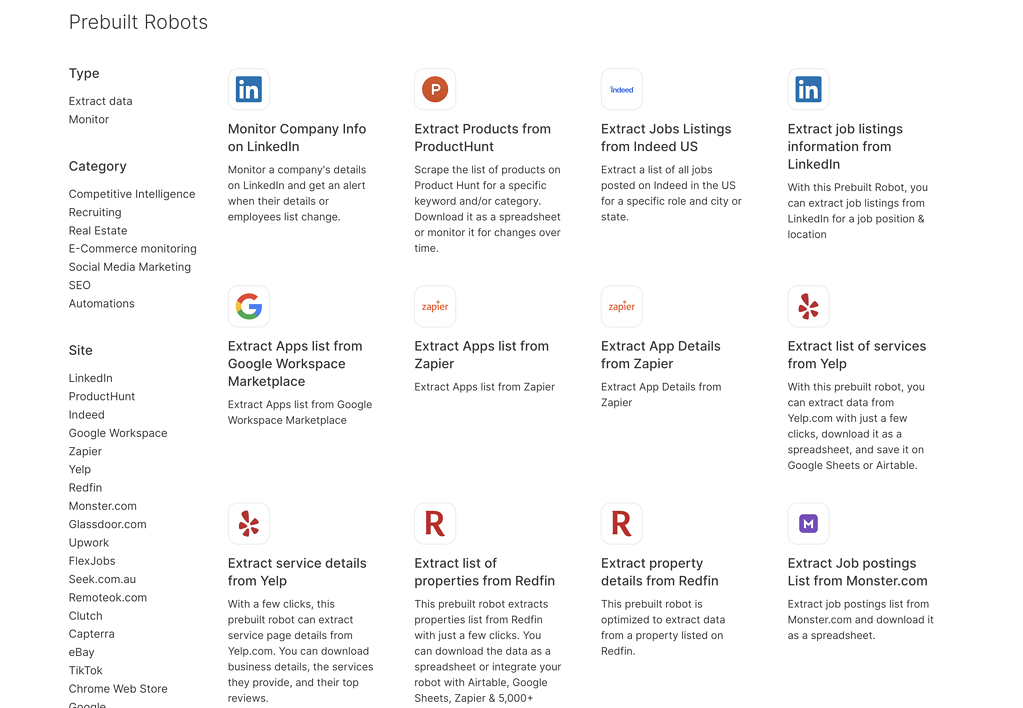
They have everything from extracting data from Google To LinkedIn, Quora, and so much more.
I chose to build my bot custom as it was for my own website. So the job details for the bot are very similar to the first one. You need to install the Chrome extension, give it permission, and then you’re ready to go.
Enter the URL you want to extract data from, and then open up your bot, so you can tell the bot what to do.
Once you’ve opened up your URL, then you’ll click on the robot in the top right and click capture list, hover your mouse until all your blog posts are covered, and then click.
Next up, you need to choose the individual text pieces you want to capture and then name them. All this goes into Google Sheets, and that’s why you need to
As the last part, you need to define the pagination on the page, and they support the following pagination types:
- There are no more items to load
- Scroll down to load more items
- Scroll up to load more items
- Click on next to navigate to the next page
- Click on load more to load more items
They all worked great when I tested them. However, I found 2 issues using the extraction bots.
- If your blog posts have different designs, then it can’t catch all of them, and then you have to build a bot for each individual blog post design in the overview.
- If your navigation only has numbers and no next button, then you can’t use the pagination.
With the results ready, you can then integrate to either Google Sheets, Airtable or the many other integrations to move your records over there.
It’s so simple to use Browse AI, and it requires no custom code, no complex algorithms or anything. You just need to use the Chrome extension to train the robot, and then it runs on autopilot from there.
Pro-tip: If you change your blog design or the page you’re pulling data from is changing the design, then remember your bot will need to be retrained. You do that in the settings menu.
If you’re super advanced, then you can use all this data you put into Google Sheets as a database and make it into an API
Helpful tip
If you change your blog design or the page you’re pulling data from is changing the design, then remember your bot will need to be retrained. You do that in the settings menu.
Wrap-Up: Is Browse AI Worth It?
Yes, Browse AI is very much worth it. Not only can you, with the free account, create 5 bots, but you also get 50 credits per month to run your bots. Every time it runs it uses one credit.
And even when you upgrade to a paid account, you get 50.000 credits yearly and 50 bots for only $19.
But even skipping the pricing, the functionality you get is so stable, and the fact that you can build an API based on data on a website this simple is incredible.
If you want to combine this to create content, then watch my KoalaWriter review.

Browse AI
My Quick Thoughts
Browse AI is a great tool for many things, and automation is a huge buzzword for Browse AI.
You can train a bot to extract data on autopilot and, with the integrations, take it a step further, and I think it’s incredible.
Browse AI
Browse.ai has made a simple way how you can easily scrape data from any website. As a bonus you can also monitor websites.
3.5
Pros
- You can use their very generous free plan with 5 robots and 50 credits.
- The monitoring is very precise, and you can monitor text, images and even design changes
- Monitoring and extraction support sign-in, scrolling and pagination.
Cons
- Error messaging when something goes wrong is rarely helpful.
- Sometimes if the website is too heavy, the browser extension freezes.

